
 Have food allergies or restrictions? Here’s an easy to make gluten-free and dairy-free cake recipe. All you need is a box of gluten-free cake mix and store-bought dairy-free frosting. So simple and it tastes great too!
I try to avoid suspect ingredients and artificial food colors, so this is a relatively healthy cake as well. Many frostings in a can are dairy-free, but full of trans fats and other additives that are bad for you (and make my skin breakout). The ingredients list for Simple Mills Organic frosting is dairy-free AND passed my yucky ingredients check.
Here’s what you will need:
- King Arthur Flour Gluten Free Yellow Cake Mix
- As specified on the cake mix box, you will also need:
- 1/2 cup Vegan Buttery Sticks, such as Earth Balance Soy Free
- 2 tbsp Vegetable oil, such as avocado oil
- 4 large eggs
- 2/3 cup milk alternative, I used hemp milk. We also like Pacific Foods Original Oat Milk
- 2-3 cans of Simple Mills Organic Vanilla Frosting
- India Tree Nature’s Colors sprinkles – contains no artificial dyes.
- Whole Foods plant-based Food Coloring, if you wish to color the frosting. If you don’t have a Whole Foods nearby, the India Tree Nature’s Colors Decorating set look like a good choice.
For the India Tree sprinkles and food coloring, make sure you get the ones labeled “Nature’s Colors.” Their regular sprinkles and food coloring use artificial colors and are not plant-based.

Useful tools
- Hand Mixer or stand mixer – makes baking a cake quick and easy
- 2 8″ round cake pans
- Instant read thermometer – if you have one, using a thermometer is so much simpler than checking for doneness with a toothpick. The cake is done when the center is 212 degrees!
- Cooling racks
- Pedestal cake stand – the extra height makes it easier to frost the cake and the narrow pedestal make it easier to turn the cake while you are frosting. It gives your cake a fancy touch too.
- 13″ Offset Spatula – easier to use for frosting a cake than a butter knife
- Wilton Buttercream Decorating Kit – if you want to do some piping or write “Happy Birthday” on your cake. Really makes your cake look more professional!
- Food Scale – I used my scale to ensure I divided the cake batter evenly between my two pans
To make the cake, follow the directions on the box of the King Arthur Flour Gluten Free Yellow Cake Mix. I used two 8″ round cake pans to make a two layer cake. The cake box directions specify to only grease the bottoms of the cake pans and not the sides. The reason for this is so that the cake can “grab” onto the sides of the pan to help the cake rise – especially important for a gluten-free cake!
Since I was making a layer cake, I wanted to bake even and flat cake layers. As I mentioned above, I used my Ozeri food scale to evenly divide the cake batter between the two pans. For making the cake layers level, I’ve seen cake levelers at the store, which you use to cut off the round top from your cake layers. However, sawing the top off my cake layers seemed more likely to ruin my cake than to make them flat.
Instead, here are three things I did to help my cake layers bake flat and even.
- After filling my pans with batter, I gave each cake pan a quick spin on my kitchen counter to get the cake batter to move outward towards the edge of the pan before putting the pans in the oven. I don’t know if this really made much of a difference, but it’s worth a shot.
- Immediately after taking the cake pans out of the oven, I gently pressed on the top of the cake with the back of a spoon to flatten it out. This helped quite a bit.
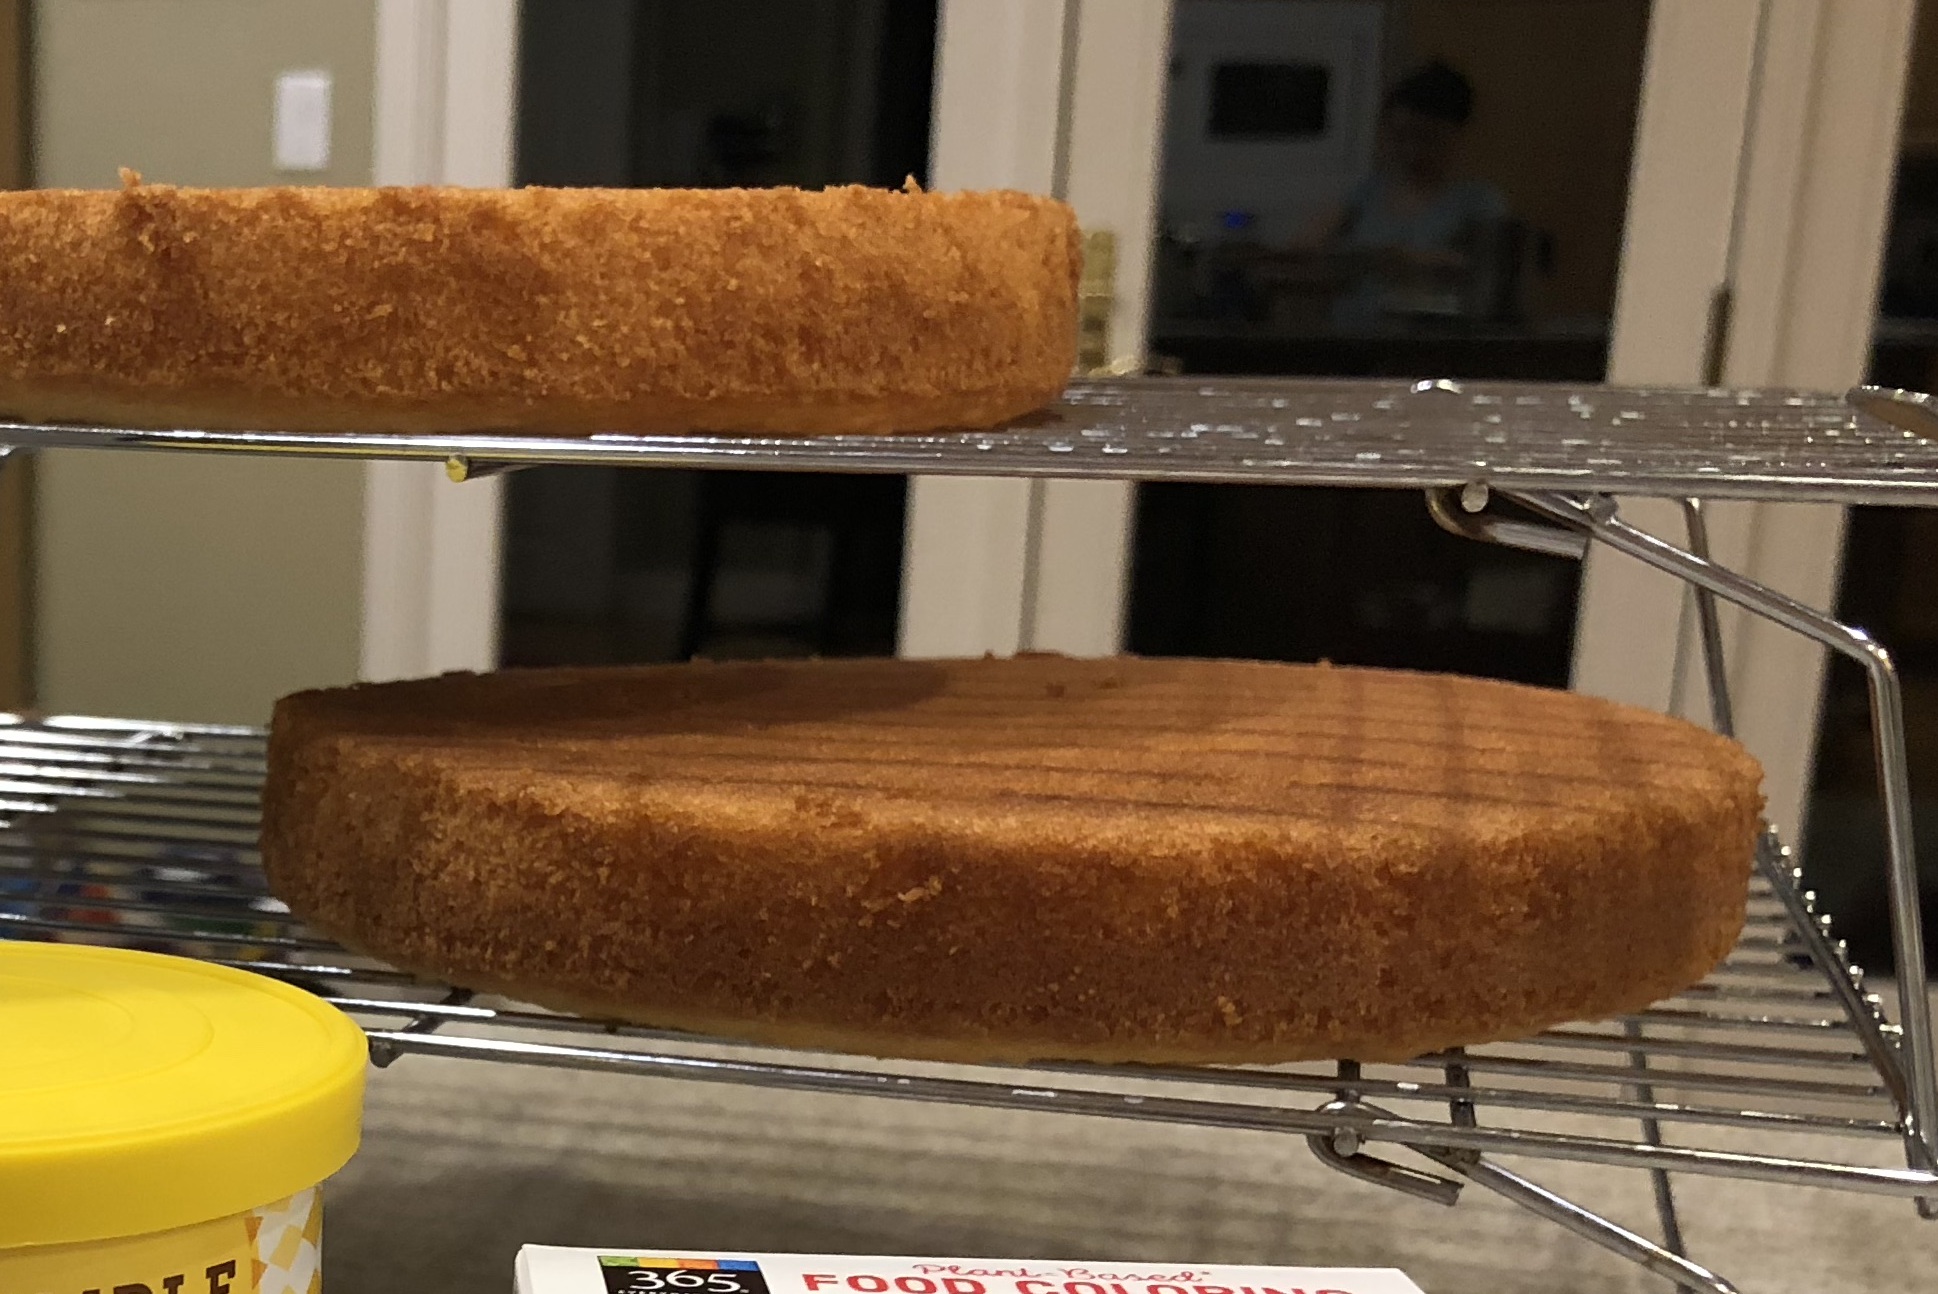
- When taking the cake layers out of the pans (after waiting the 10 minutes specified on the box for the cake to cool a bit), I placed the cake layers upside down on my cooling racks. This helped a lot too!
Check out how nice and flat my cake layers turned out!
 After letting the cake layers cool for several hours, you are ready to frost your cake. I put some strips of parchment paper under my bottom cake layer to keep the plate clean and used my cake pedestal to make it easier to turn the cake while frosting. I used an offset spatula to spread the Simple Mills Organic Vanilla Frosting filling between the two layers.
 Use the dairy free frosting and the offset spatula to frost the rest of the cake. The offset spatula makes it easy to get a nice smooth top and I also used the tip of the offset spatula to make the sides look “rustic.” I wasn’t too careful about trying not to get crumbs in my frosting – that’s why I got the natural sprinkles to help distract from any frosting imperfections.
I used a little kit similar to Wilton’s Buttercream Decorating Kit to do the piping and the writing on the cake. The cake decorating kit is inexpensive and the piping makes the cake look way more professional! I mixed a few drops of blue natural food coloring with the frosting. It helps if the frosting is stiffer, so I put my colored frosting into the piping bag and then in the fridge for 10 minutes before decorating. The decorating kit comes with simple technique instructions. I practiced my piping and writing techniques on a plate first before doing the real thing on the cake. If needed, you can scoop the practice frosting back into your piping bag!
Once you are done with the decorative frosting, add the sprinkles, carefully remove the strips of parchment, and your cake is done!
 Our birthday cake was moist and delicious! My daughter enjoyed the frosting even though she usually does not like frosting. The sprinkles were pretty tasty too. This was the best gluten-free and dairy-free birthday cake and it was so easy to make!